Member-only story
Procreate Shadow Tutorial
How to make your images pop
Take a look at the circles below. Which one catches your eye first?


I assume your eye was drawn to the circle on the right. This image has more dimension than the left, because of the shadow. This technique can elevate your digital designs, whether they are text or images.
For this tutorial, I will use the Procreate App and my Apple Pencil 2 on my iPad Pro.
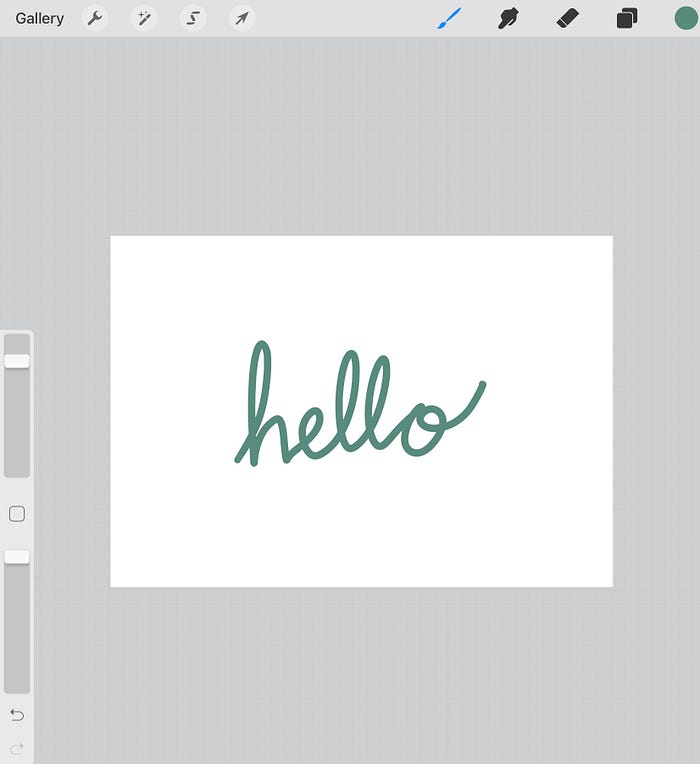
- Start with a new project in the Procreate app. You can use whichever dimensions will work for your project. Draw your design in any color besides black.
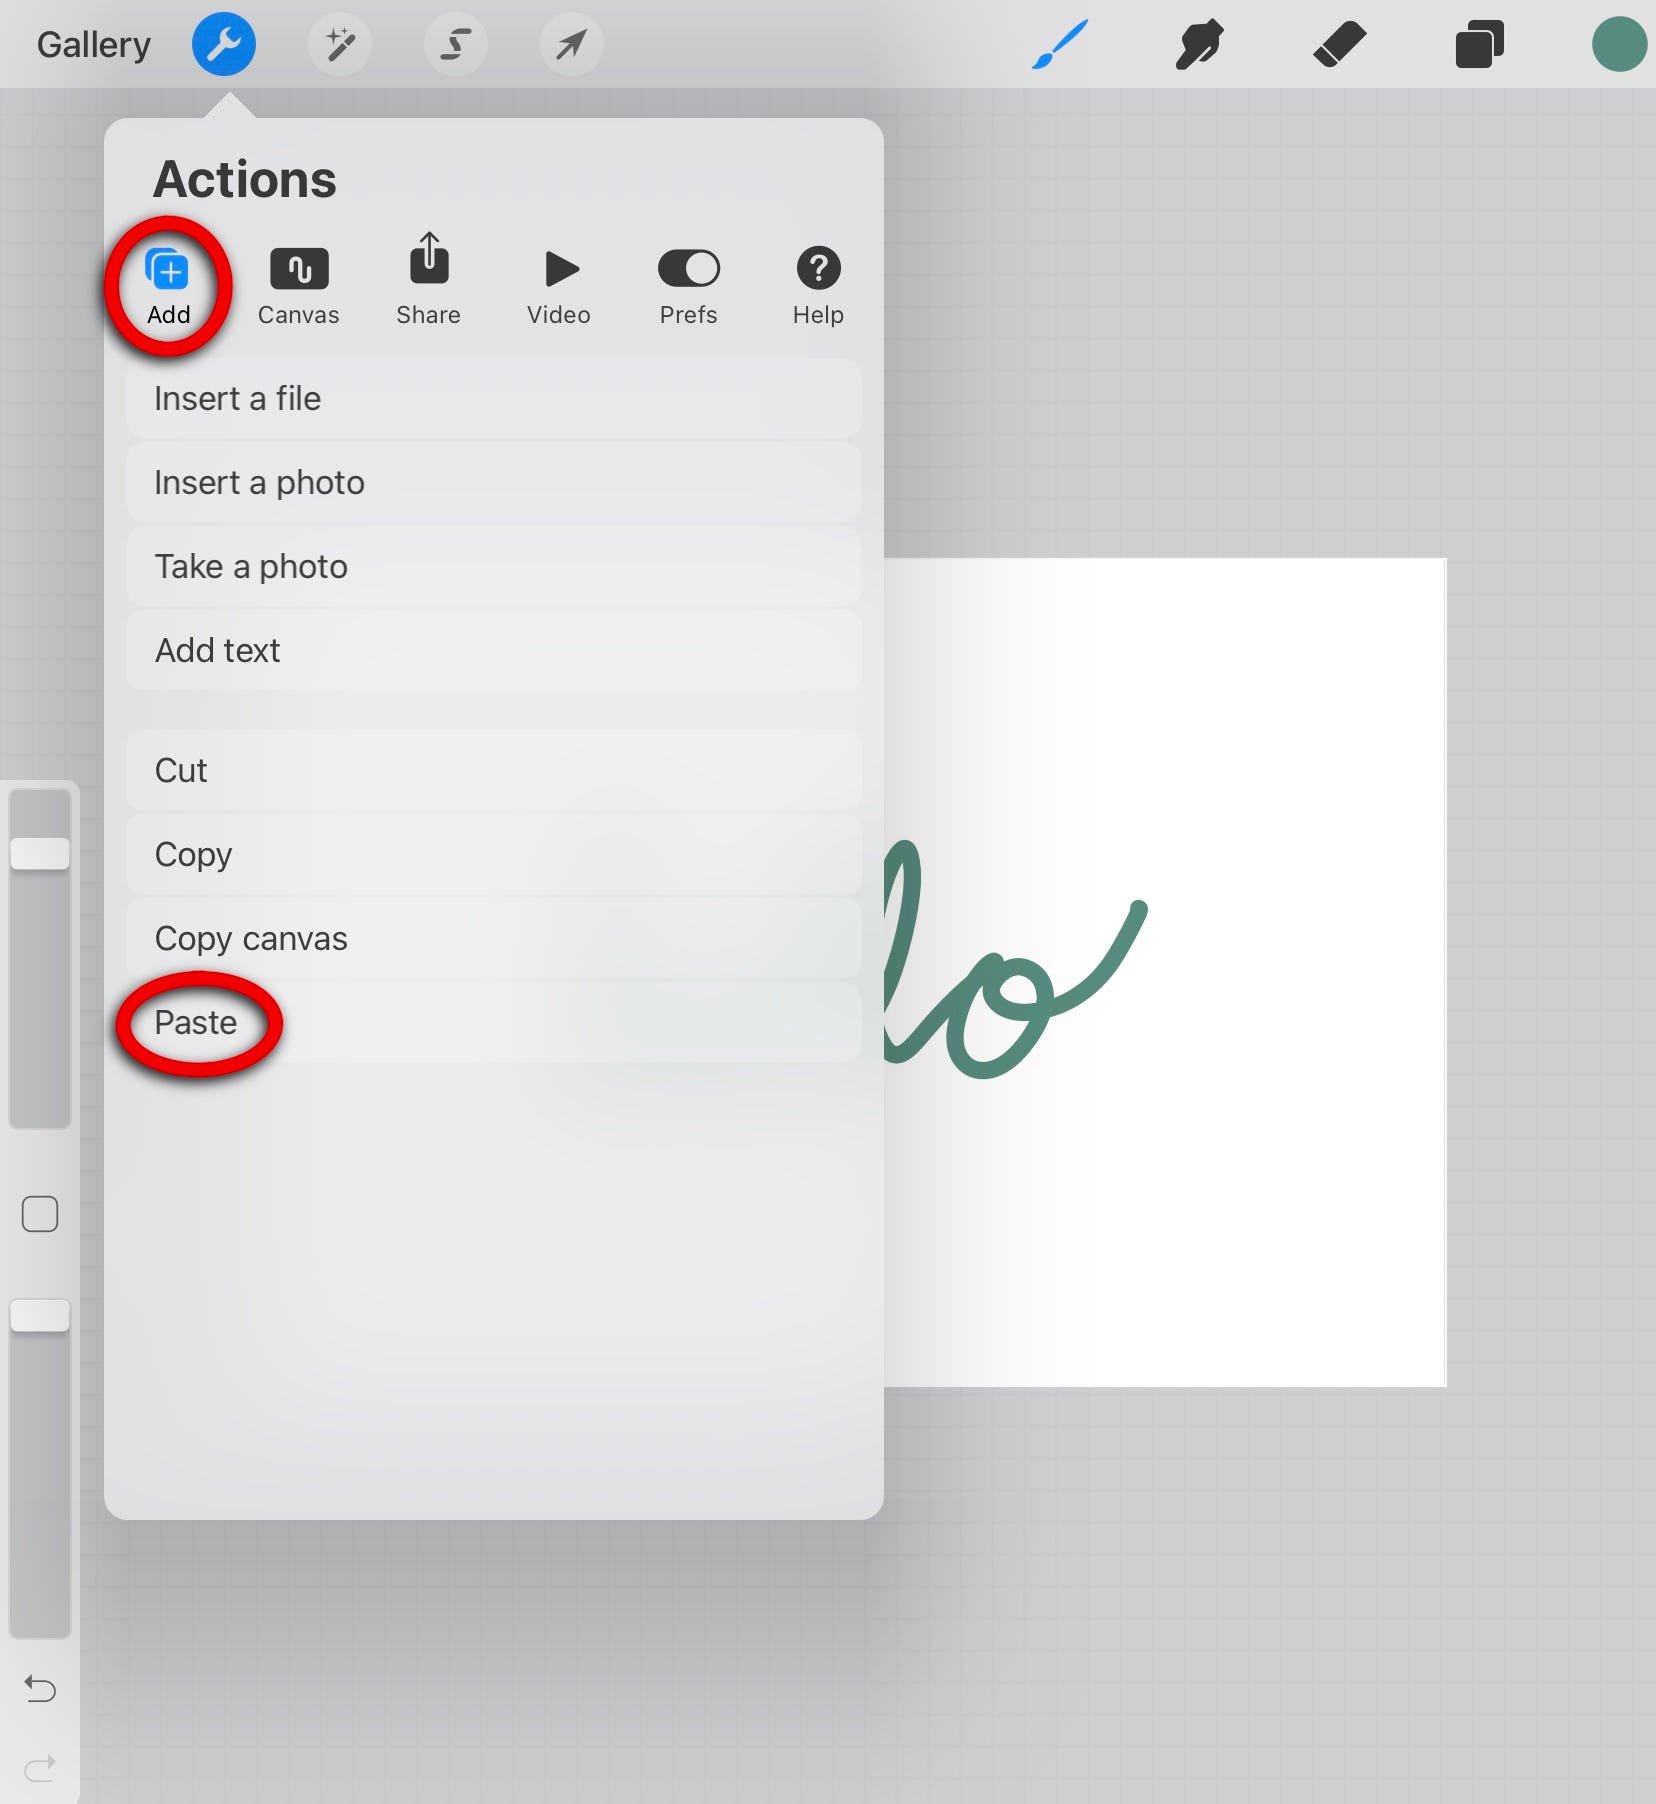
2. Copy the layer with your design on it by tapping and holding your finger/ stylus down on the layer. From the menu, select copy. Select the wrench icon at the top of the screen, tap Add, and then tap Paste. This will paste the design into a new layer.


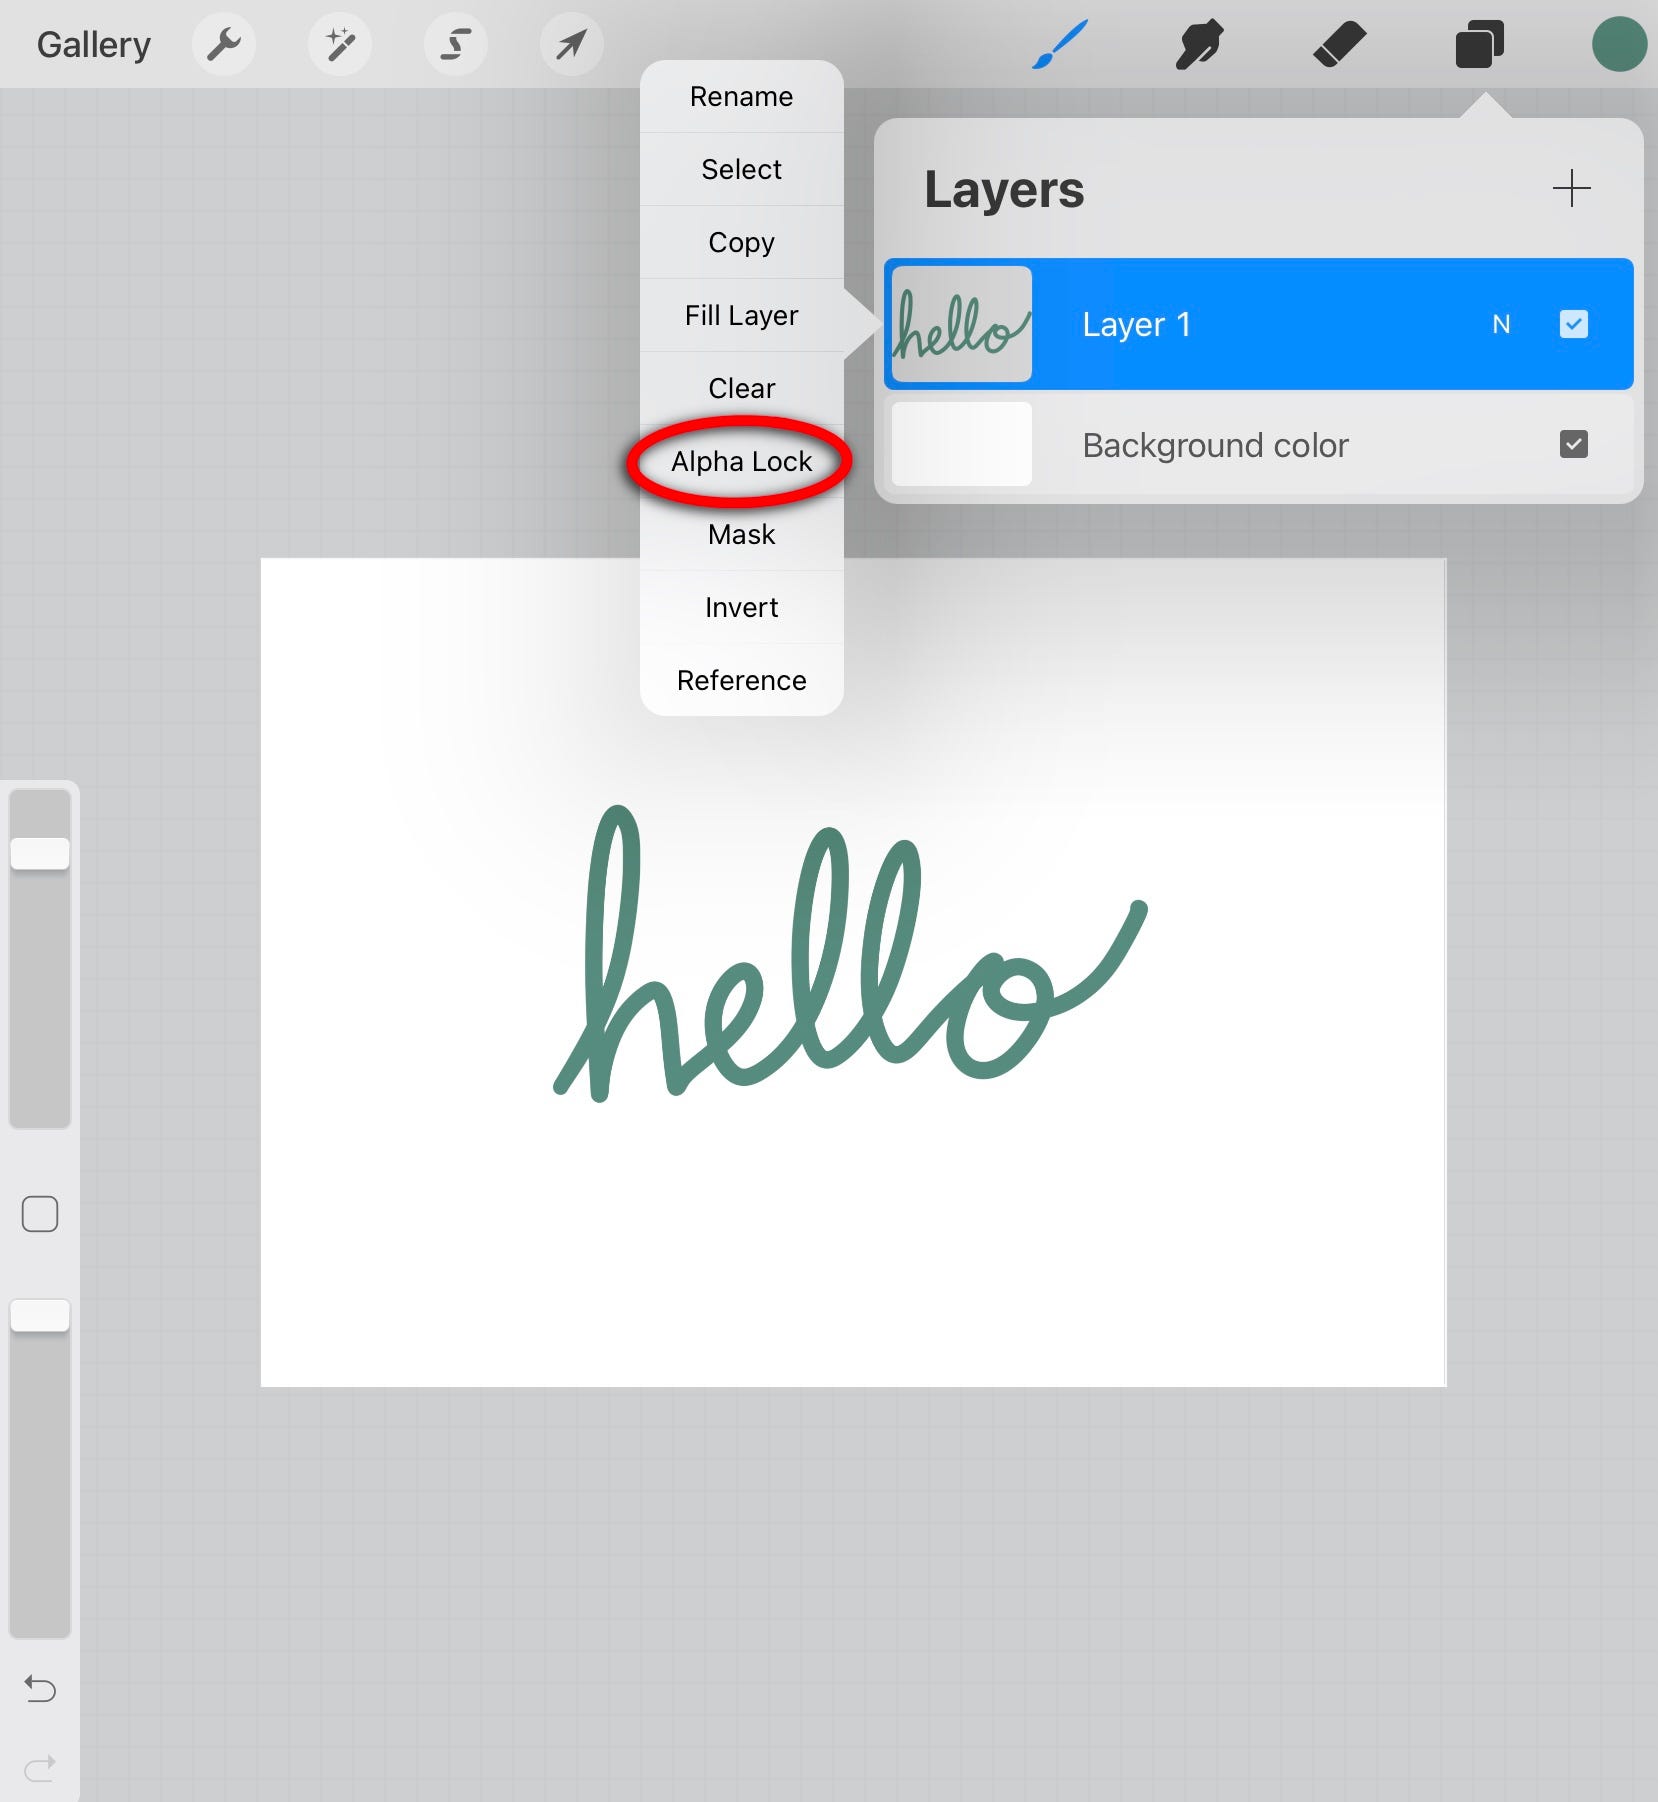
3. Tap and hold the first layer again until the menu pops up. Select Alpha Lock. The layer will now show a checkered background in the thumbnail, and anything you draw on the layer will only show where your design already is.
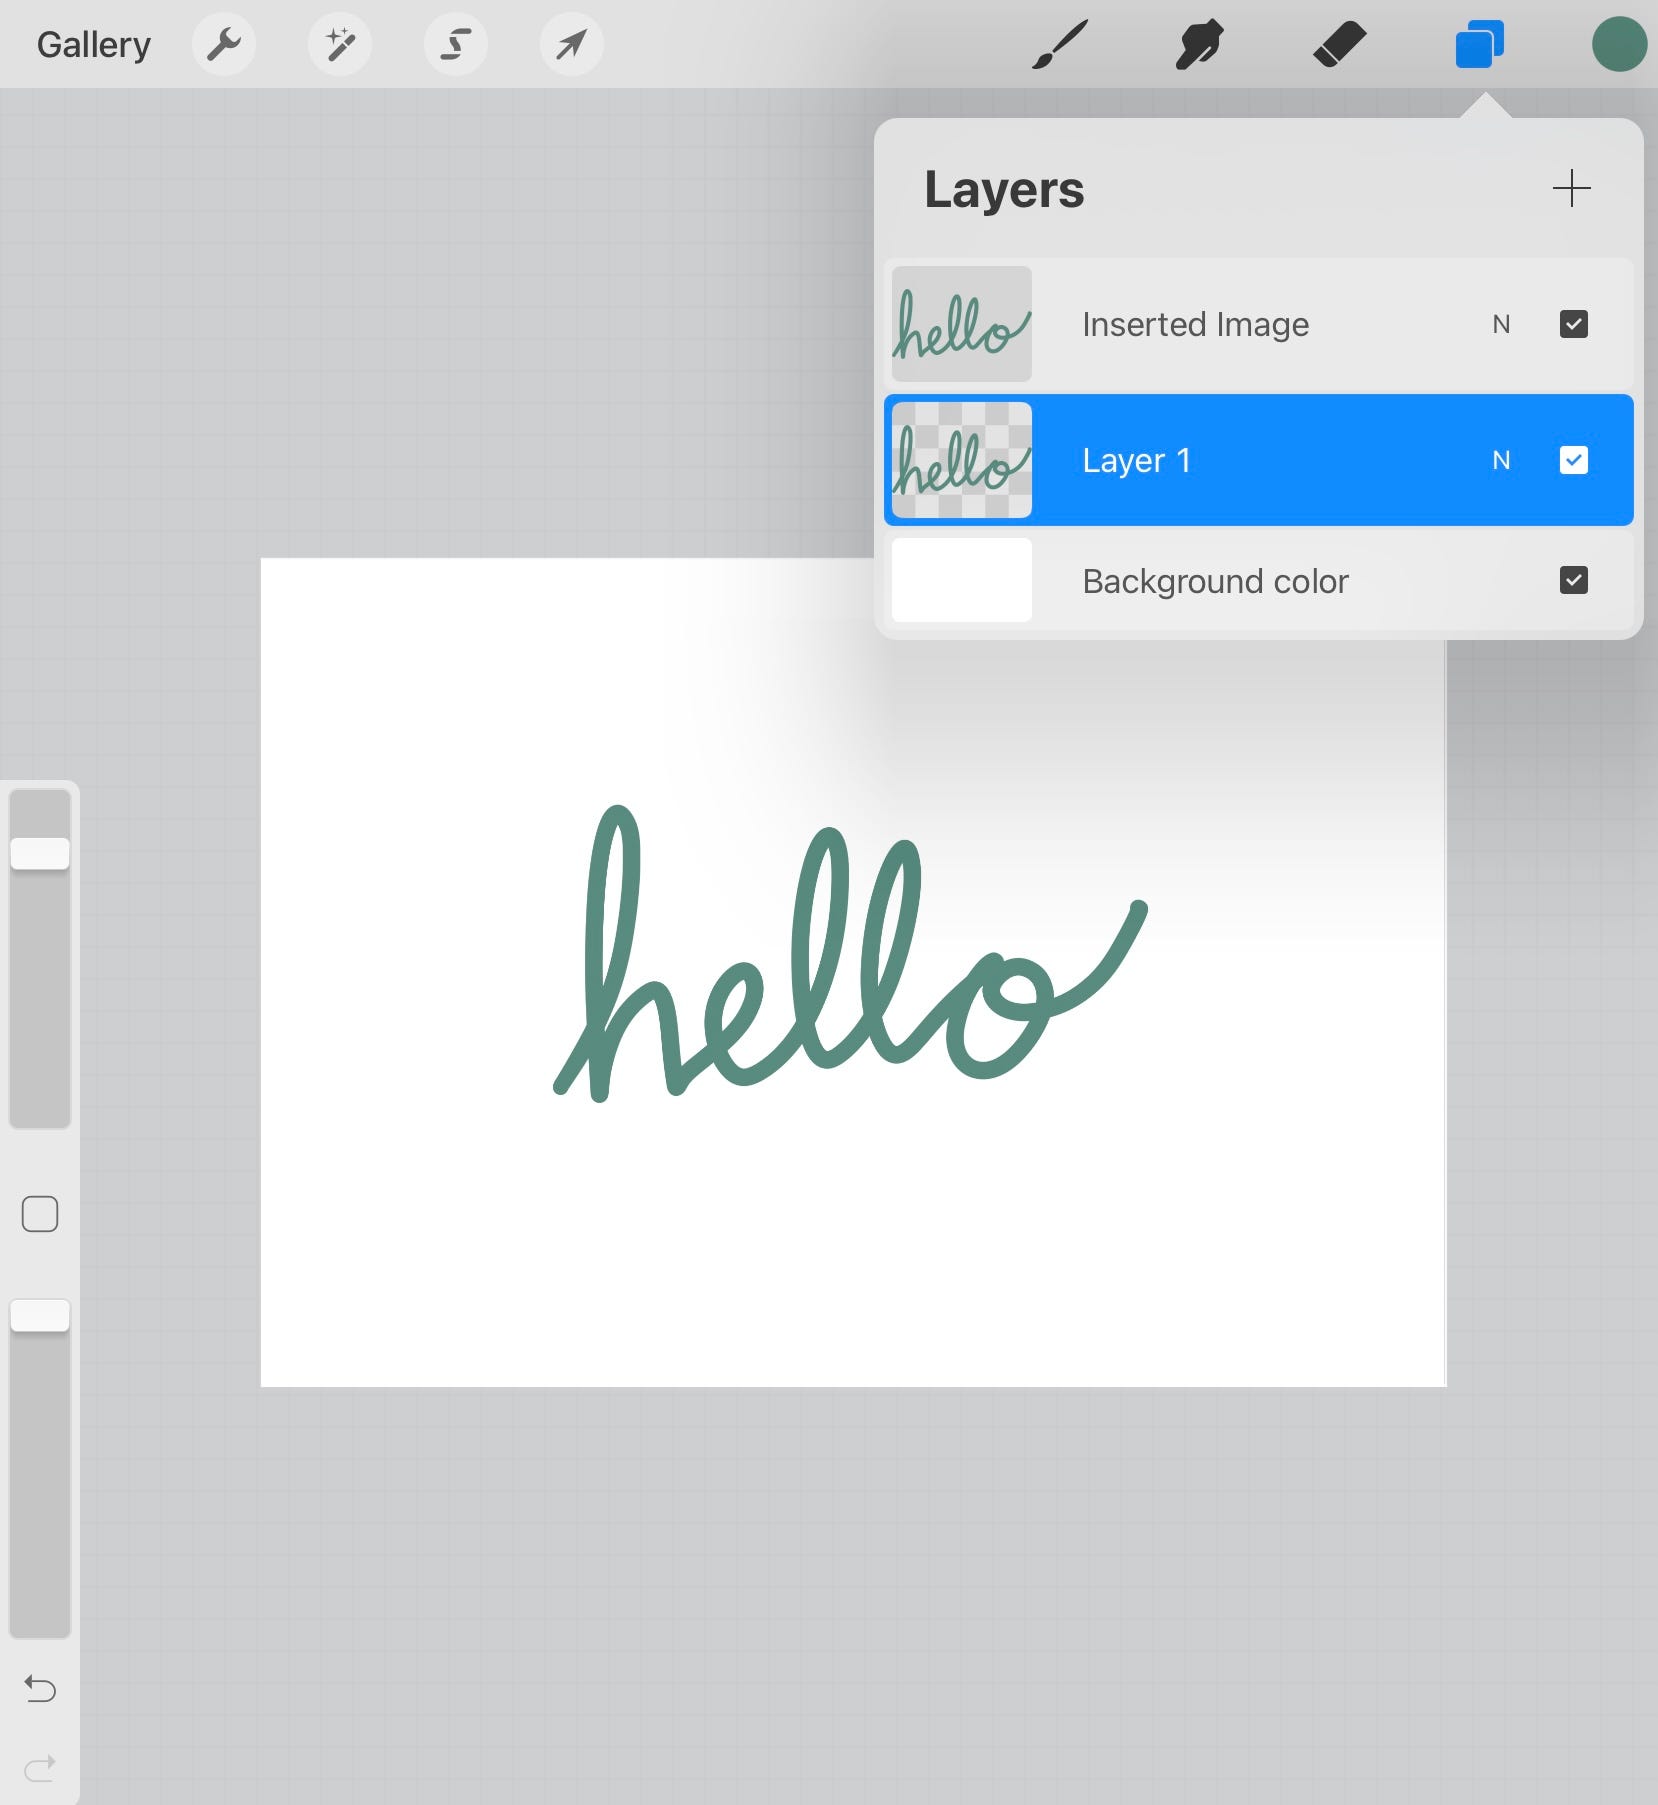
4. Change the color of your brush to black, and color over the design on the layer that you implemented alpha lock on.


5. Remove the alpha lock on the first layer the same way that you put it on. Select the arrow icon at the top of the screen, and move the black design over slightly.
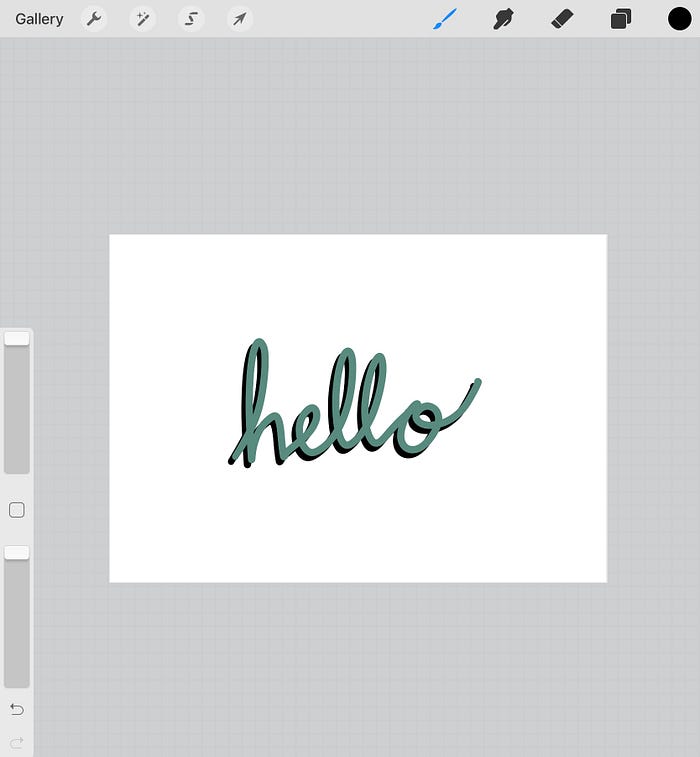
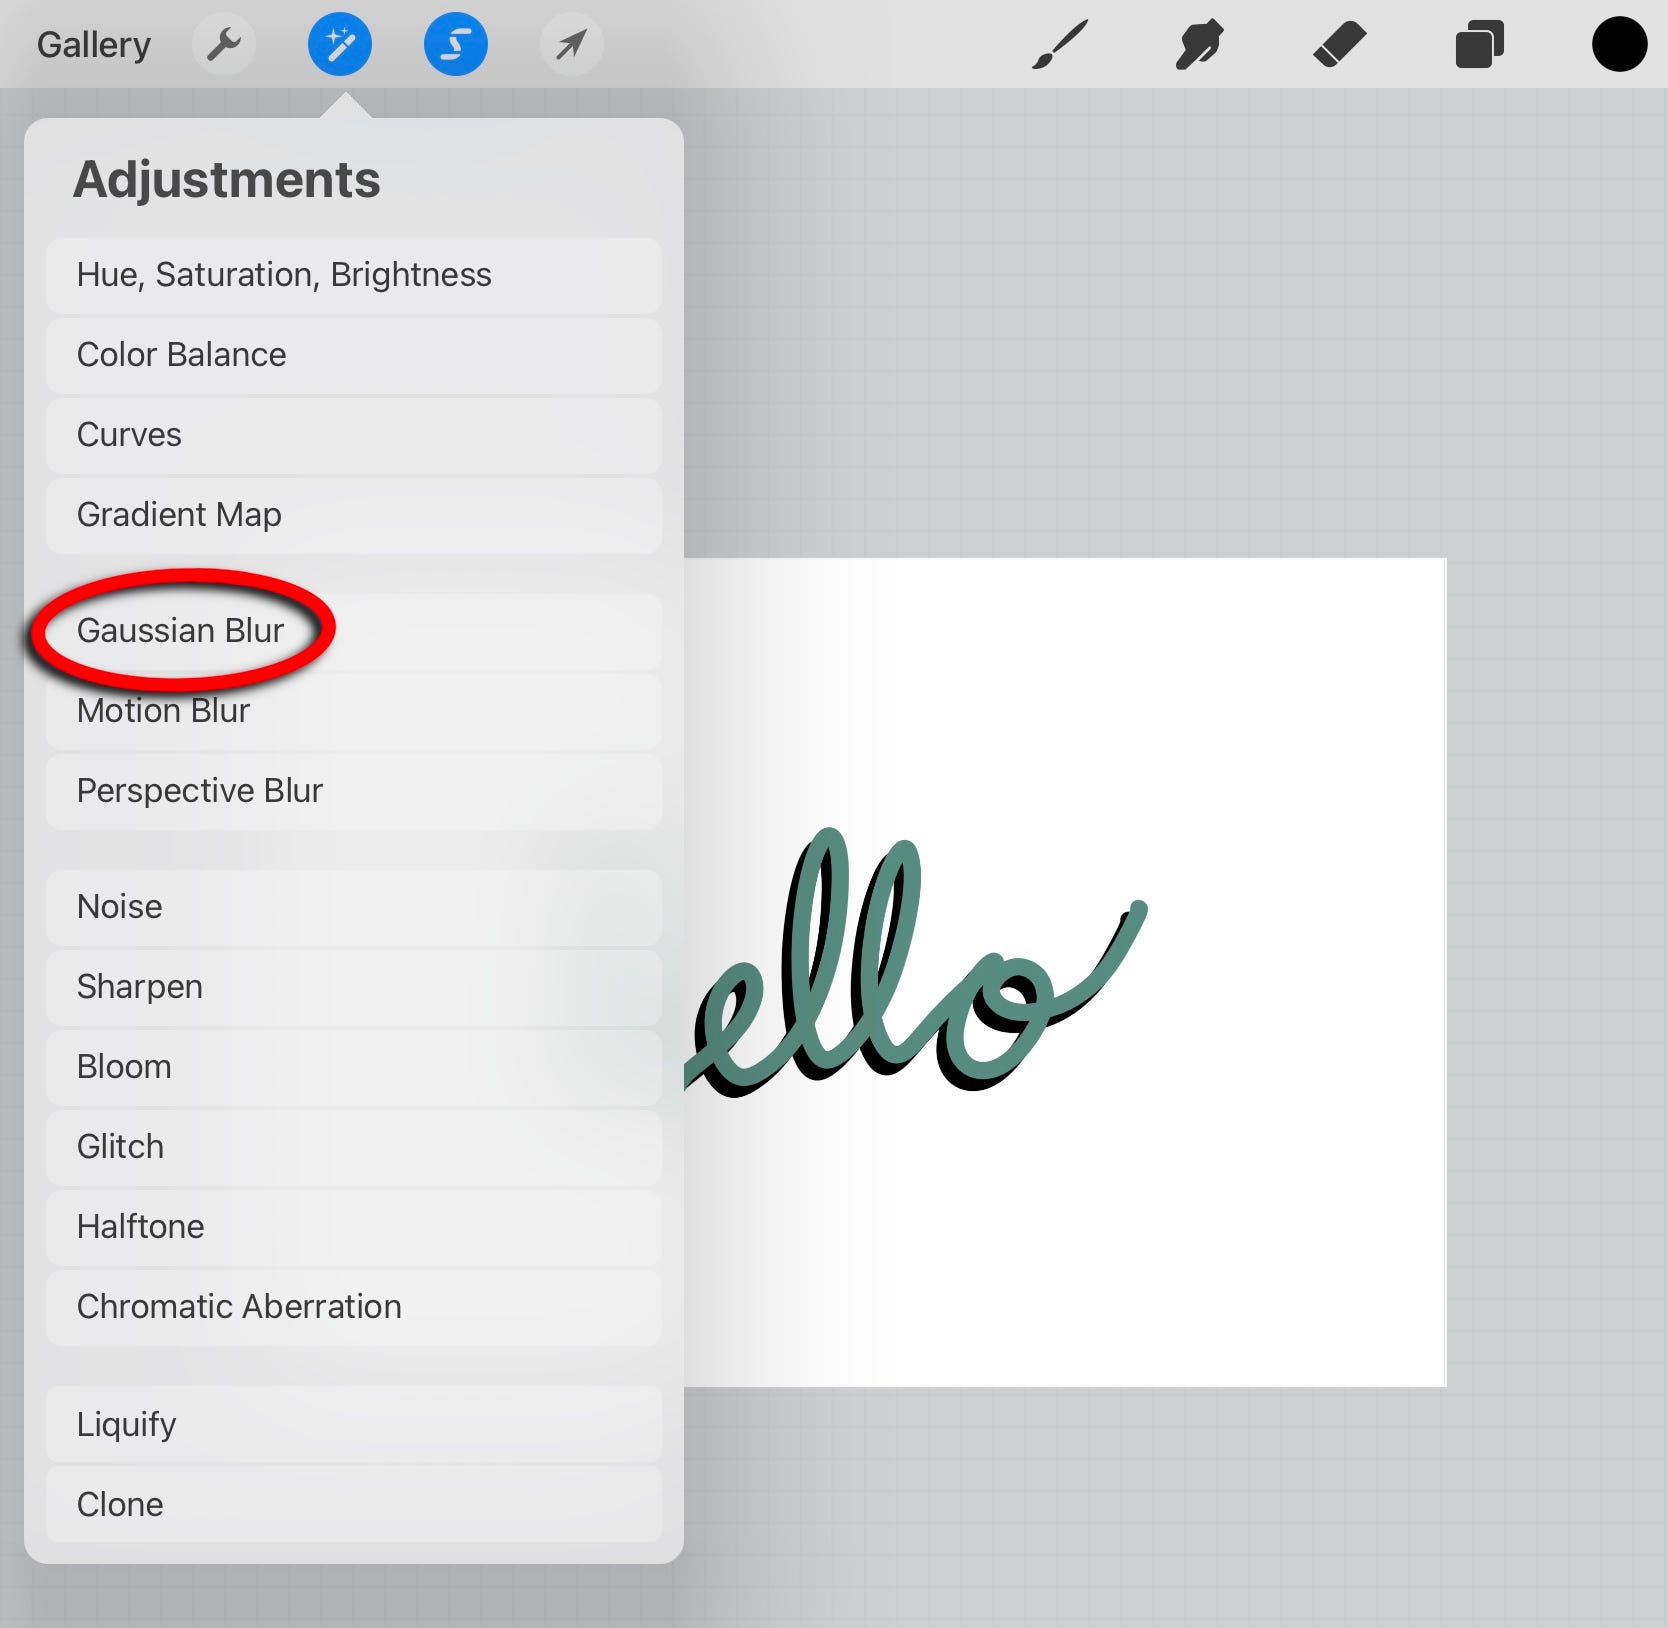
6. At the top of the screen, select the icon that looks like a magic wand, and select Gaussian Blur. Swipe your finger or stylus across the screen, until you have the desired percentage.
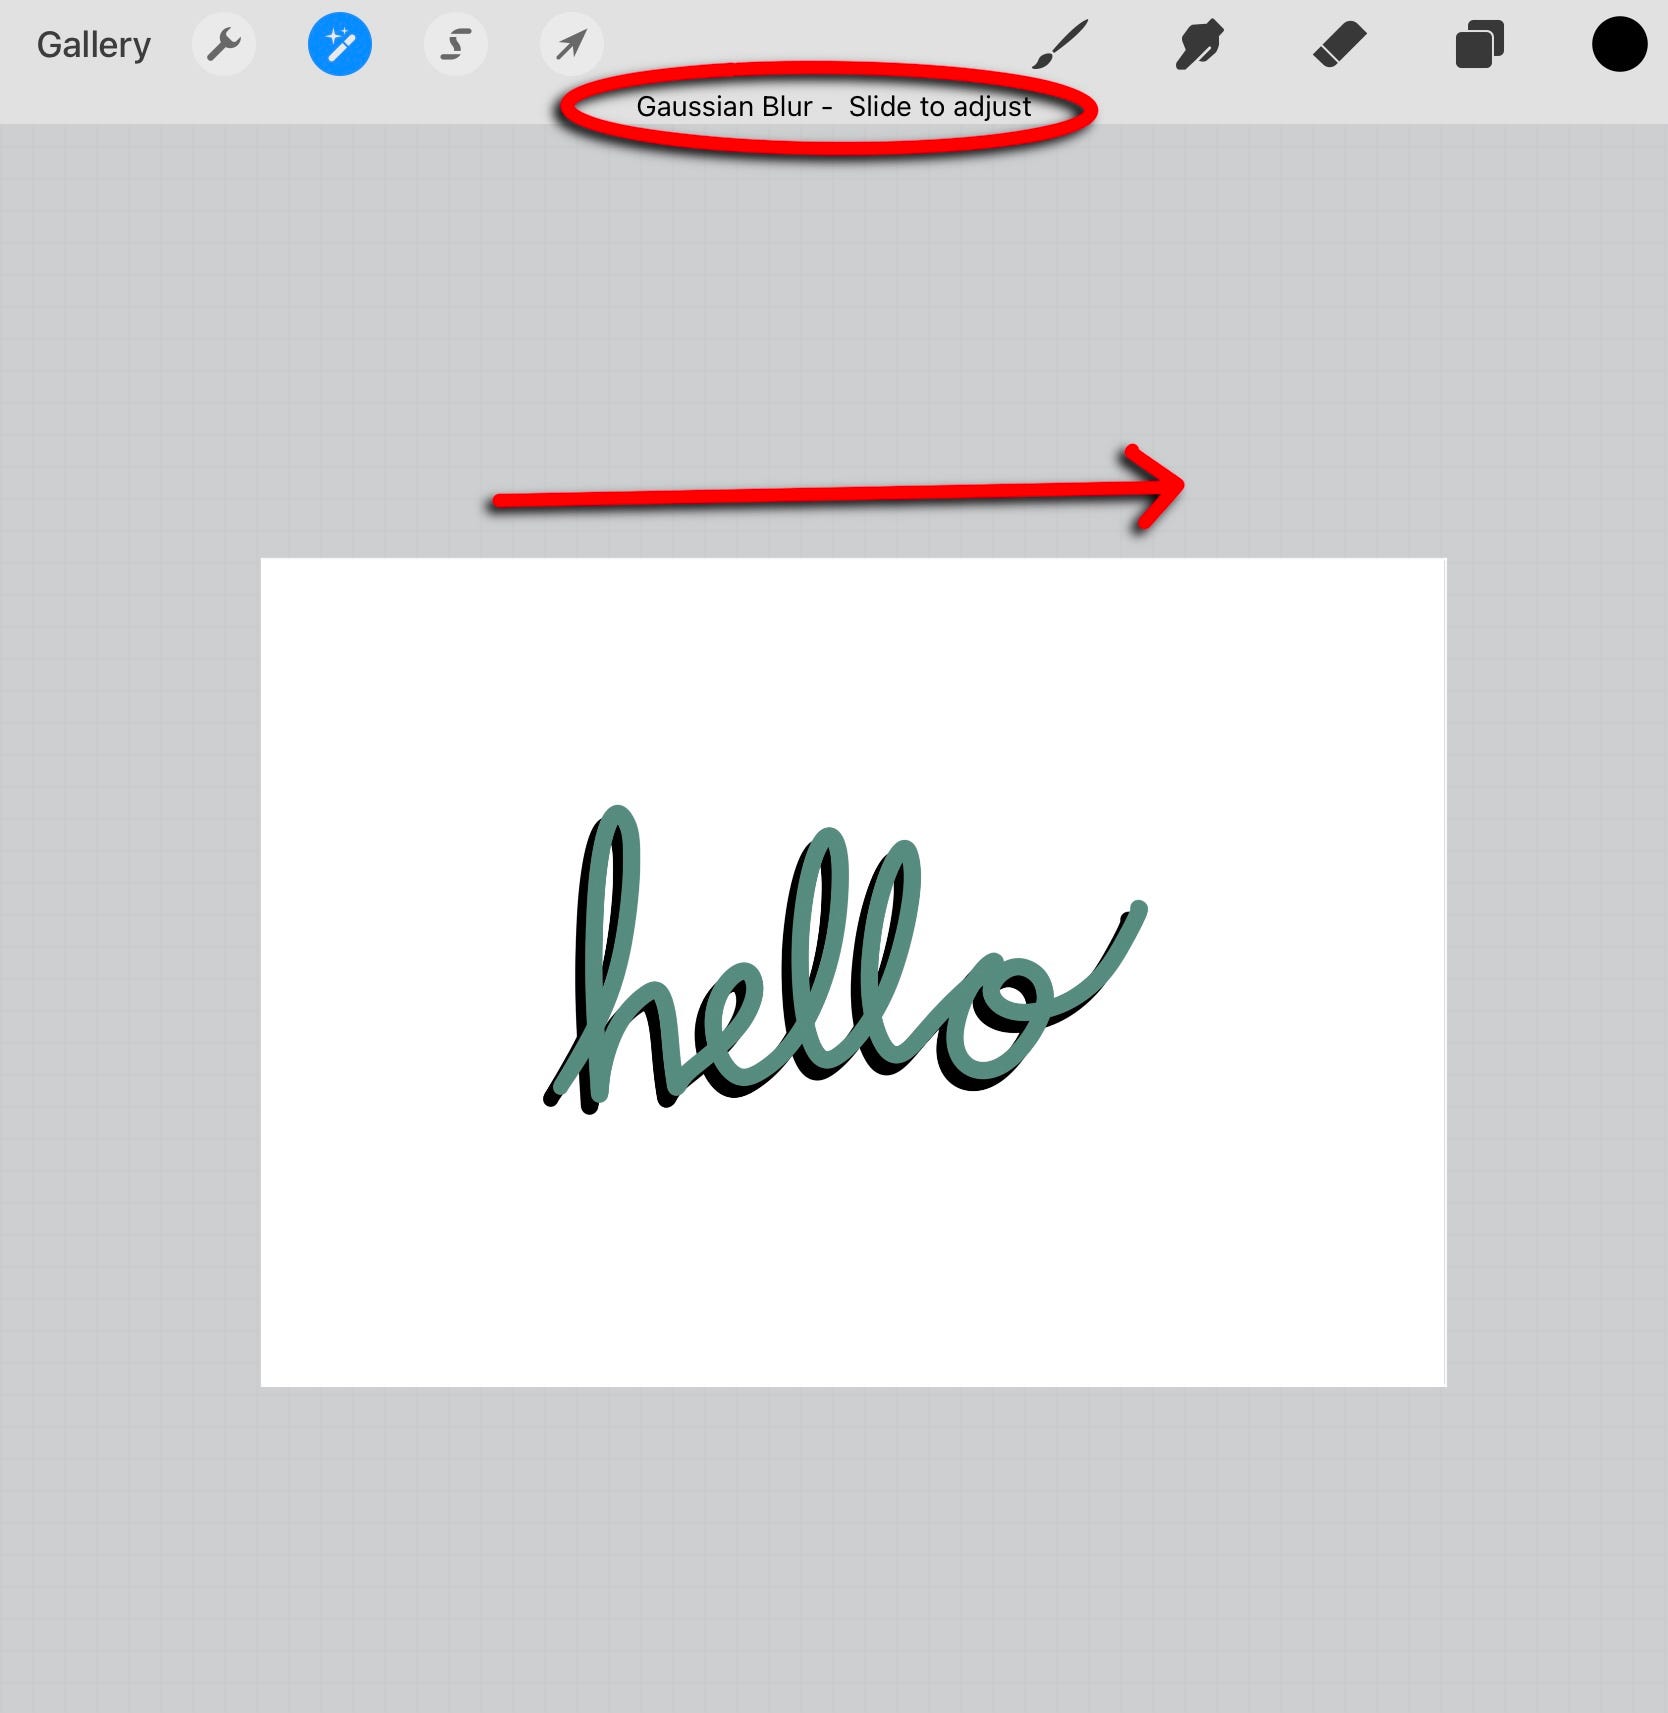

Now, your design should have a nice drop shadow, and catch the eye of all of your viewers!


